
Responsive Pricing Table is a "display plugin" in the way that it allows to show "plans" in your posts/pages.
There are a couple of ways that you could use this plugin on a WooCommerce site and we're going to go through two of them in this short article.
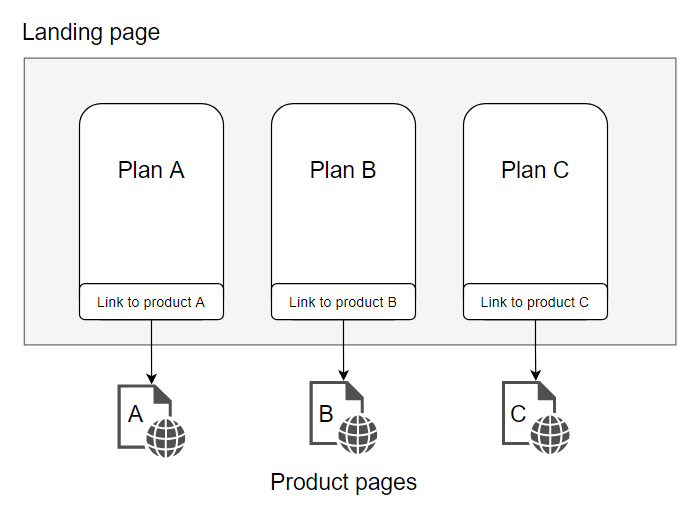
Redirect visitors to product pages
This one is by far the easiest and for this you will simply need to get the URLs to your product pages and insert them in the your pricing plan's button URL field. This way when a visitor clicks the plan's button, they will be taken to a specific product.
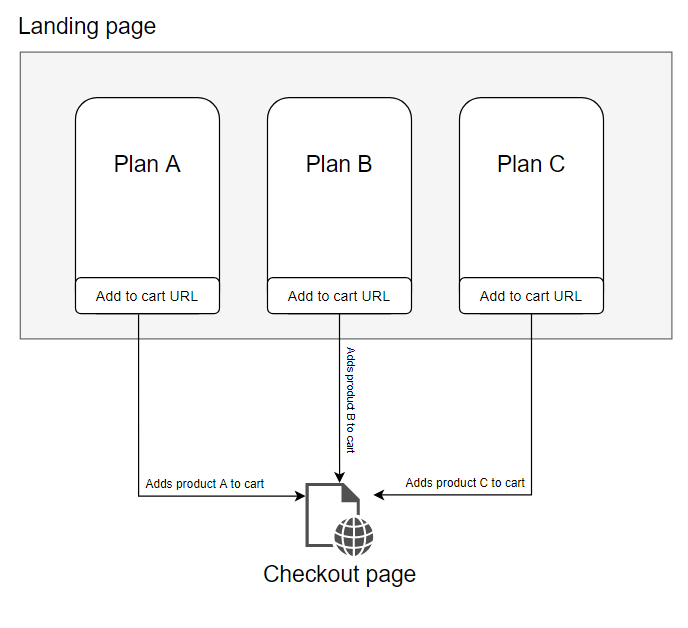
Redirect visitors to checkout page with product in the cart
WooCommerce offers shortcodes to let you create add-to-cart buttons and generate add-to-cart URLs. These shortcodes output either a styled button or a URL only. These will take your visitors to the checkout page but also add a product to the cart.
We recommend using the add-to-cart-URL shortcode, you can read more about it on the WooCommerce documentation, it is very easy to implement.
[add_to_cart_url id="14"]
Simply replace "14" with the ID of the product you want to use in the pricing plan and paste the shortcode in the button URL field.
This is the end of this article, hopefully it will help some of you better integrate Responsive Pricing Table with WooCommerce.